There’s something deeply satisfying about growing your own food. I still remember the first time I harvested tomatoes from my backyard—sun-warmed, perfectly ripe, and bursting with flavor that no grocery store tomato could match. But here’s the thing: I didn’t start with a traditional garden. I started with a raised bed garden, and it changed everything.
If you’ve been dreaming of growing your own vegetables, herbs, or flowers but feel overwhelmed by the thought of tilling up your yard, dealing with poor soil, or bending over until your back aches, a raised bed garden might be your perfect solution. It’s easier on your body, gives you complete control over your soil quality, and can turn even the smallest space into a productive growing area.
In this guide, I’ll walk you through everything you need to know to start your own raised bed garden—from choosing the right location to harvesting your first crop. Whether you’re a complete beginner or looking to expand your gardening skills, this step-by-step approach will set you up for success.
Table of Contents
Key Takeaways
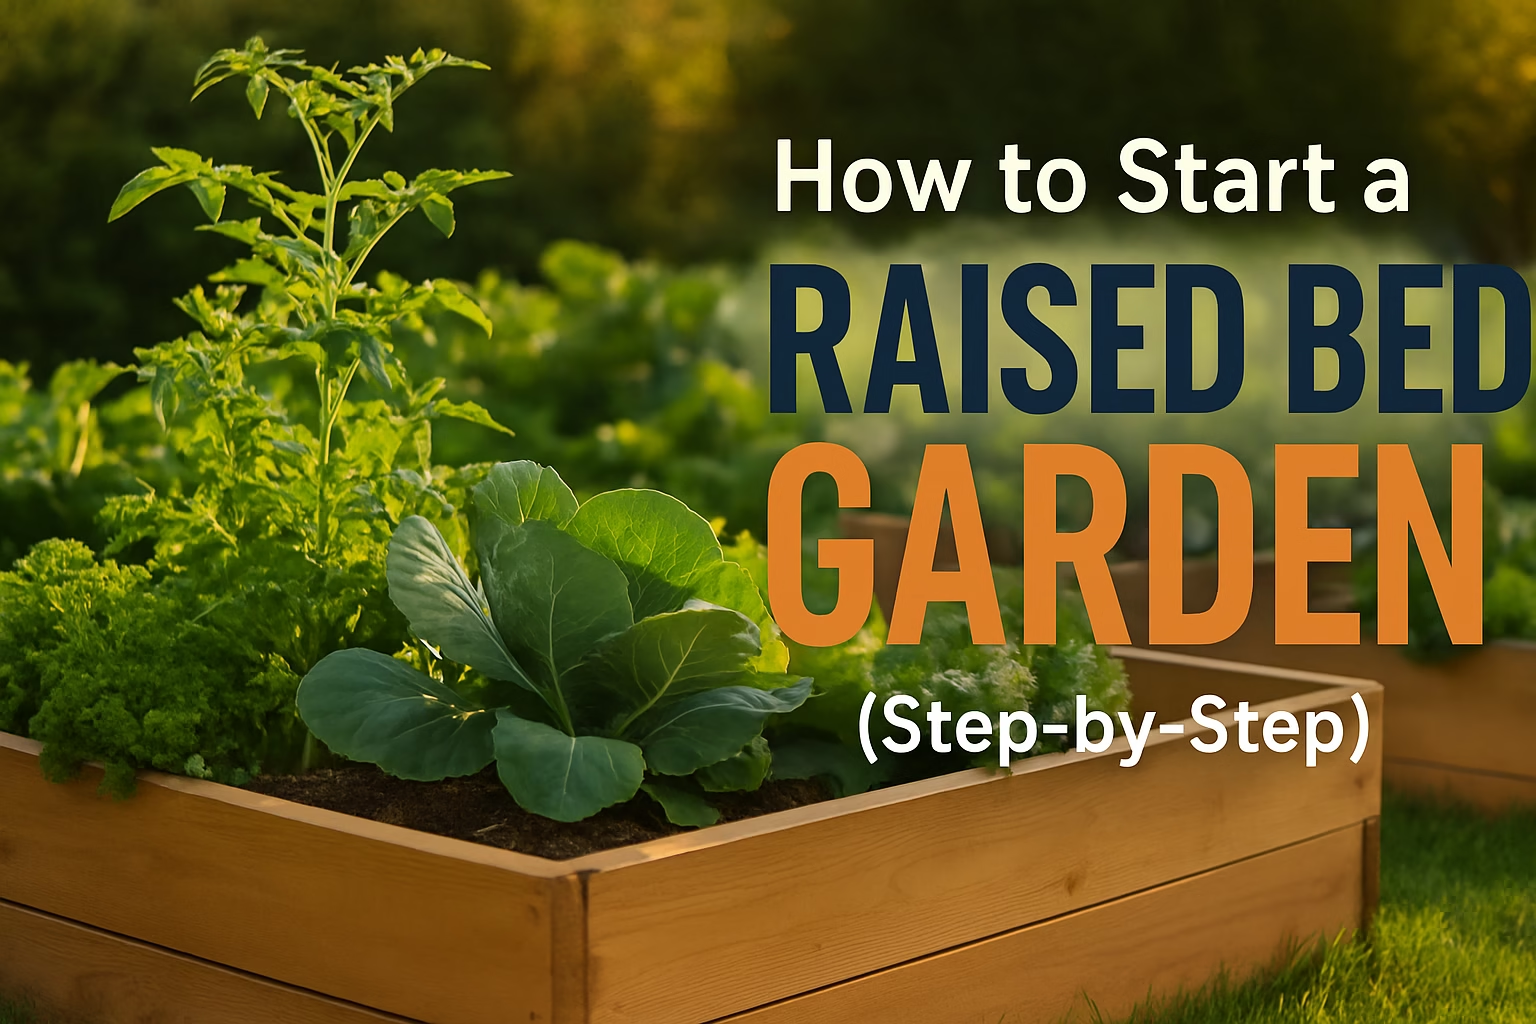
What Is a Raised Bed Garden and Why Should You Start One?
A raised bed garden is simply a growing area where the soil level is elevated above the ground, typically contained within a wooden, metal, or composite frame. Think of it as creating the perfect growing environment from scratch, rather than working with whatever soil nature gave you.
The Benefits That Made Me a Believer
When I started my first raised bed garden, I was skeptical about whether the extra effort would be worth it. Spoiler alert: it absolutely was. Here’s why:
🌱 Superior Soil Quality: You control exactly what goes into your soil mix, creating the perfect environment for your plants.
💧 Better Drainage: Raised beds drain faster than ground-level gardens, preventing waterlogged roots and fungal diseases.
🌿 Fewer Weeds: Starting with fresh soil means fewer weed seeds, and the elevated height makes the ones that do appear easier to spot and remove.
🦴 Easier on Your Body: No more backbreaking bending—you can even build beds at waist height if mobility is a concern.
🐌 Pest Protection: The raised structure creates a barrier against some ground-dwelling pests like slugs and certain insects.
🌡️ Warmer Soil: Raised beds warm up faster in spring, giving you a head start on the growing season.
Just like building healthy habits in your 20s, starting a raised bed garden is an investment in your long-term wellbeing that pays dividends for years to come.
Step 1: Choose the Perfect Location for Your Raised Bed Garden
Location can make or break your gardening success. I learned this the hard way when my first attempt at a shady corner bed produced exactly three sad tomatoes all summer.
Sunlight Requirements
Most vegetables and herbs need 6-8 hours of direct sunlight daily. Before you commit to a location, observe your yard throughout the day:
If you only have partial shade, don’t despair! Focus on crops like lettuce, spinach, kale, and herbs that tolerate less sun.
Access to Water
Trust me on this: you’ll water more consistently if it’s convenient. Consider:
Level Ground and Drainage
While raised beds help with drainage, starting on relatively level ground makes construction easier. Avoid:
Practical Considerations
Think about your daily routine. Can you see your garden from your kitchen window? Is it easy to check on during your morning coffee? These small details matter more than you’d think. Similar to creating a self-care routine, making your garden accessible increases the likelihood you’ll actually tend to it regularly.
Step 2: Decide on the Size and Number of Beds
Here’s where many beginners (including past me) get overly ambitious. Start smaller than you think you need.
Optimal Dimensions
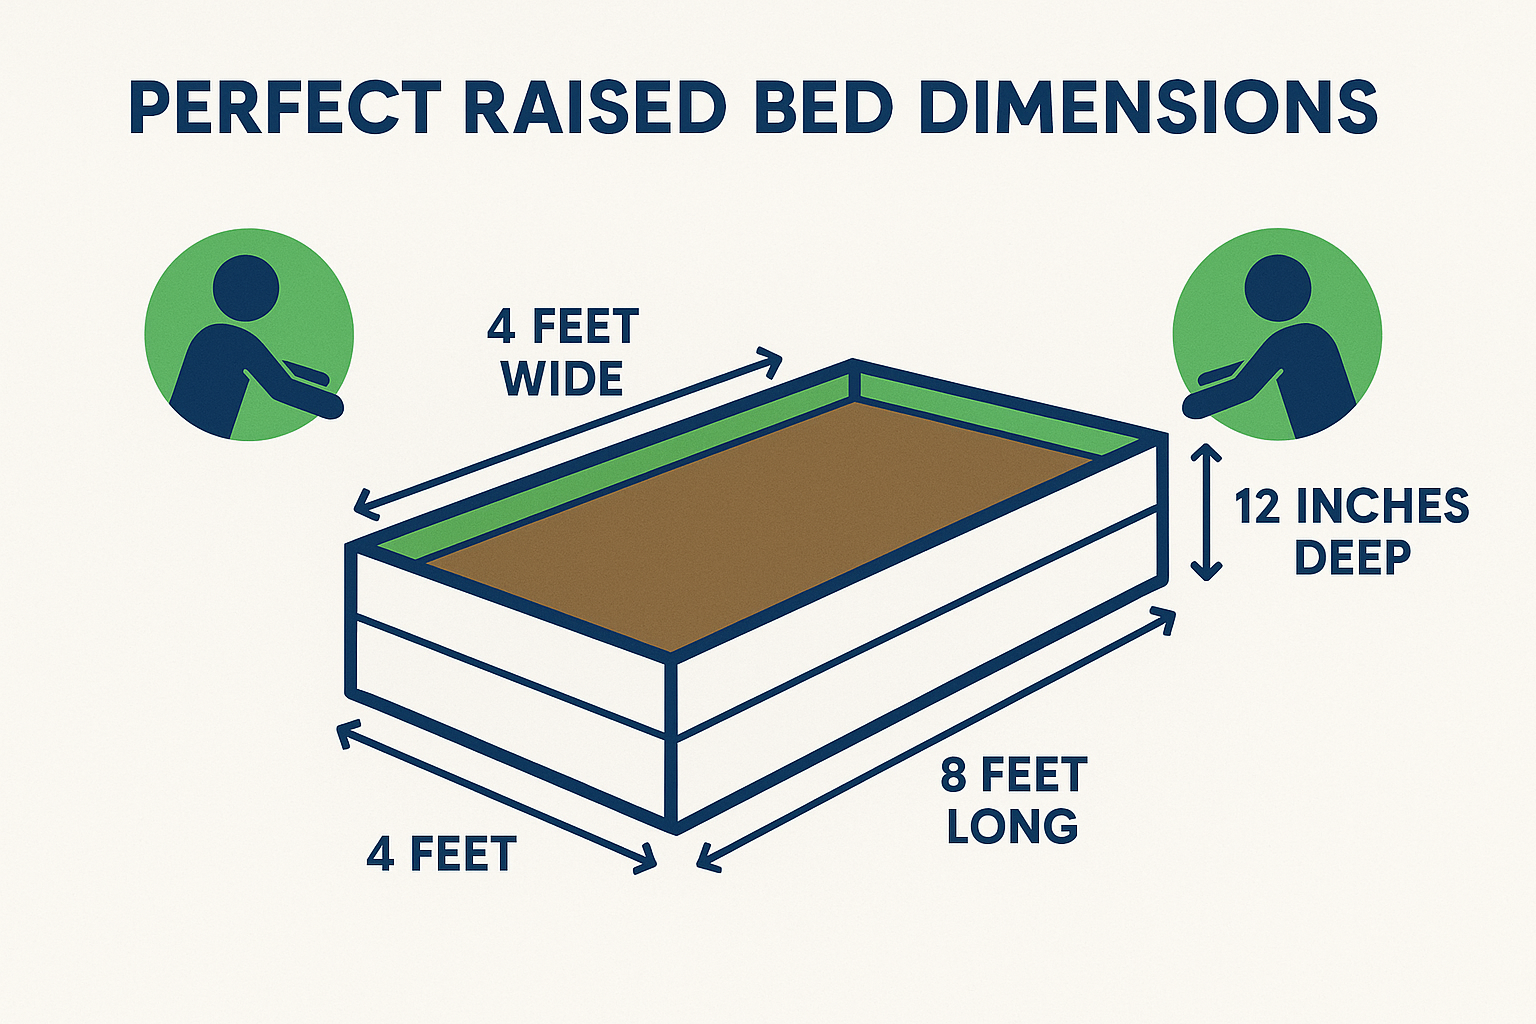
Width: Keep beds no wider than 4 feet if accessible from both sides, or 2-3 feet if against a wall. This ensures you can reach the center without stepping on the soil.
Length: This is flexible based on your space—6, 8, or even 12 feet works well.
Height:
How Many Beds Should You Start With?
| Garden Experience | Recommended Starting Size | Why |
|——————|————————–|—–|
| Complete Beginner | 1-2 beds (4×8 feet each) | Learn without overwhelm |
| Some Experience | 2-4 beds | Room to experiment with crop rotation |
| Experienced Gardener | 4+ beds | Maximize production and variety |
I started with two 4×8 beds, and I’m so glad I did. It was enough to grow a meaningful amount of food without becoming a part-time job.
Step 3: Gather Your Materials
The beauty of a raised bed garden is that you can make it as simple or elaborate as you want.
Frame Materials
Untreated Cedar or Redwood 🏆
Composite Lumber
Galvanized Steel
Concrete Blocks
What to Avoid: Treated lumber containing harmful chemicals, railroad ties (often treated with creosote), and tires (can leach toxins).
Essential Tools and Supplies
Step 4: Build Your Raised Bed Garden Frame
Building a basic raised bed is surprisingly simple—even if you’re not particularly handy. I built my first one in about an hour.
Basic Construction Steps
Pro Tip: If building feels daunting, many companies sell pre-made raised bed kits that simply bolt together. There’s no shame in taking the easier route—the goal is growing food, not proving your carpentry skills!
Step 5: Fill Your Raised Bed Garden with the Perfect Soil Mix
This is where the magic happens. The soil you choose will determine your garden’s success more than almost any other factor.
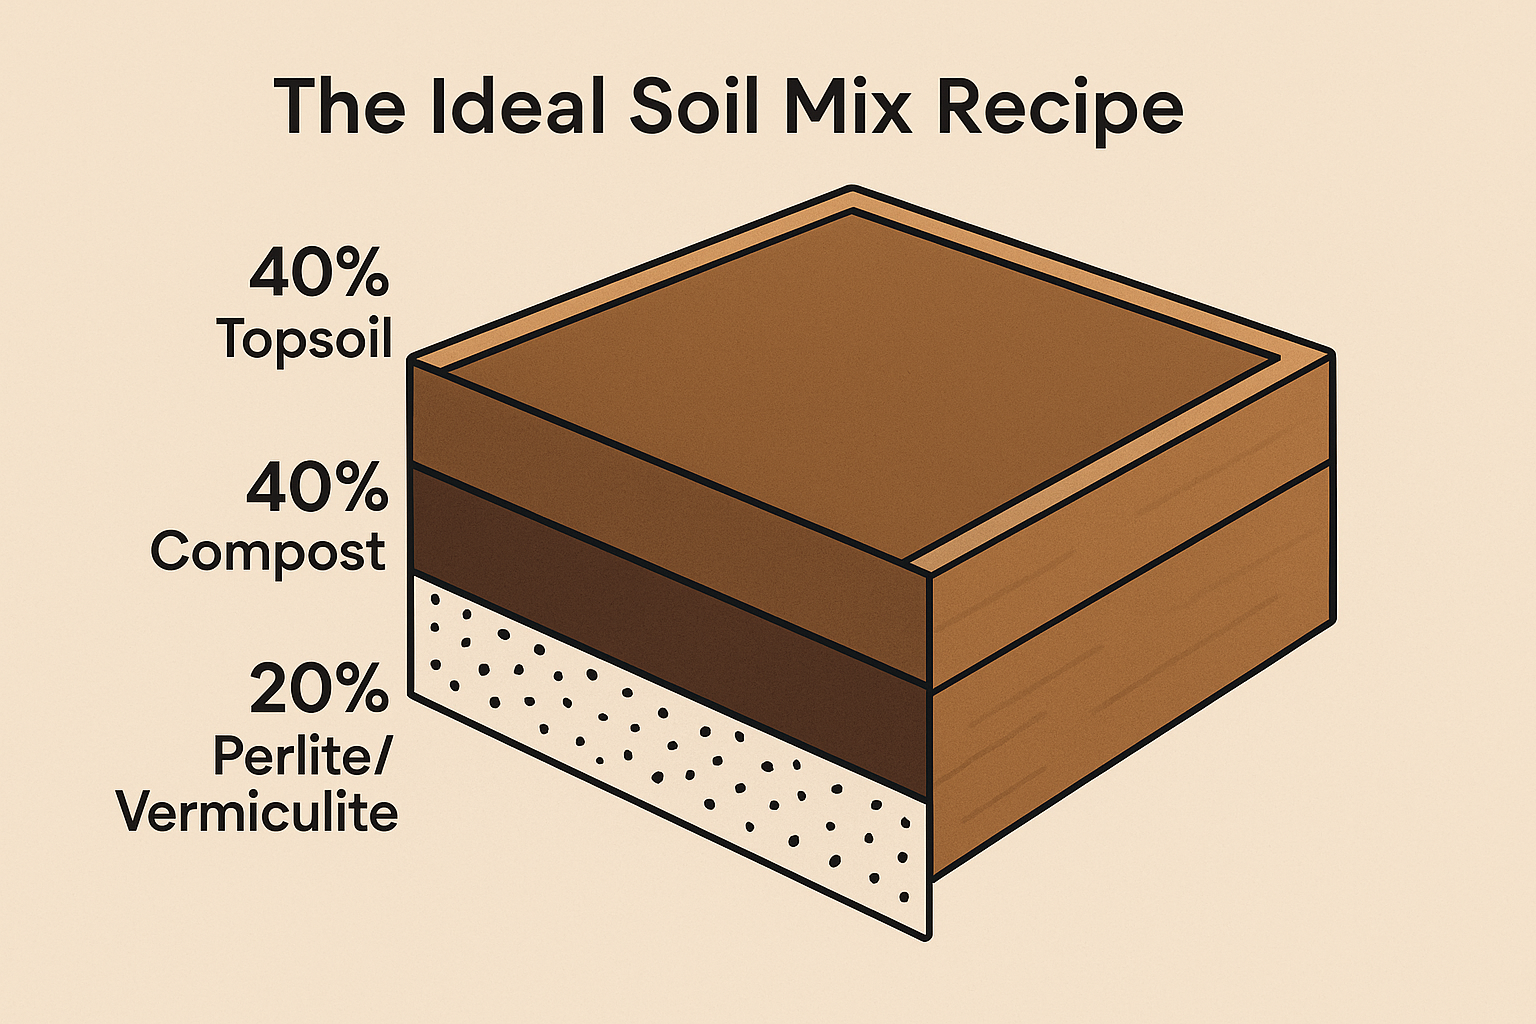
The Ideal Soil Recipe
For a balanced, nutrient-rich mix, I use:
🥇 The Classic Mix:
The Premium Mix:
This is known as “Mel’s Mix” from Square Foot Gardening, and it’s fantastic for beginners.
How Much Soil Do You Need?
Use this formula: Length × Width × Depth = Cubic Feet
For a 4×8 bed that’s 1 foot deep:
4 × 8 × 1 = 32 cubic feet of soil
Most soil comes in cubic feet or cubic yards (1 cubic yard = 27 cubic feet).
Where to Source Quality Soil
Warning: Avoid using only garden soil or topsoil—it’s too dense and will compact in raised beds. The mix is crucial!
Step 6: Plan What to Plant in Your Raised Bed Garden
This is the fun part! But strategic planning prevents overcrowding and ensures continuous harvests.
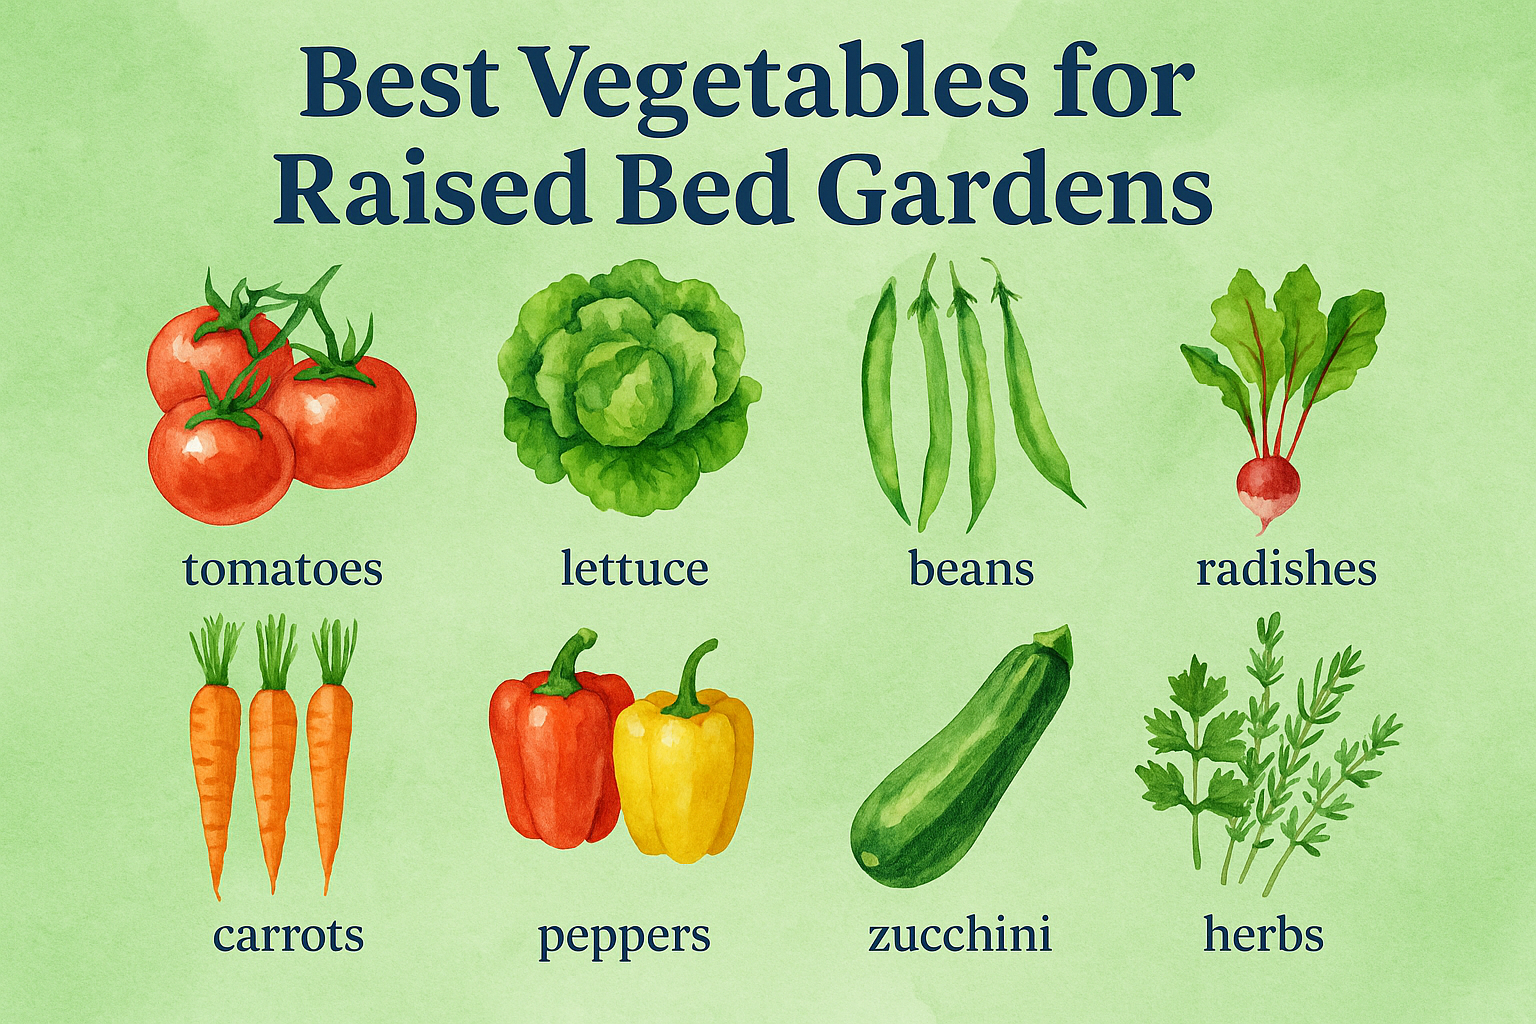
Best Crops for Raised Bed Gardens
Excellent Choices for Beginners :
Space-Efficient Favorites:
Companion Planting Basics
Some plants grow better together:
Spacing Guidelines
Don’t crowd your plants! They need room for air circulation and root growth:
| Crop | Spacing |
|——|———|
| Tomatoes | 24 inches |
| Peppers | 18 inches |
| Lettuce | 6-8 inches |
| Carrots | 2-3 inches |
| Beans | 4-6 inches |
| Herbs | 12 inches |
Planning your garden is a bit like setting intentions for your life—you need a clear vision but also flexibility to adapt as things grow.
Step 7: Plant Your Raised Bed Garden
Finally—the moment you’ve been working toward! Whether you’re starting from seeds or transplants, proper planting sets the stage for success.
Seeds vs. Transplants
Start with Seeds:
Buy as Transplants:
Planting Steps
Timing Matters
Cool Season Crops (plant in early spring or fall):
Warm Season Crops (plant after last frost):
Check your local frost dates—they’re your planting calendar’s best friend.
Step 8: Water and Maintain Your Raised Bed Garden
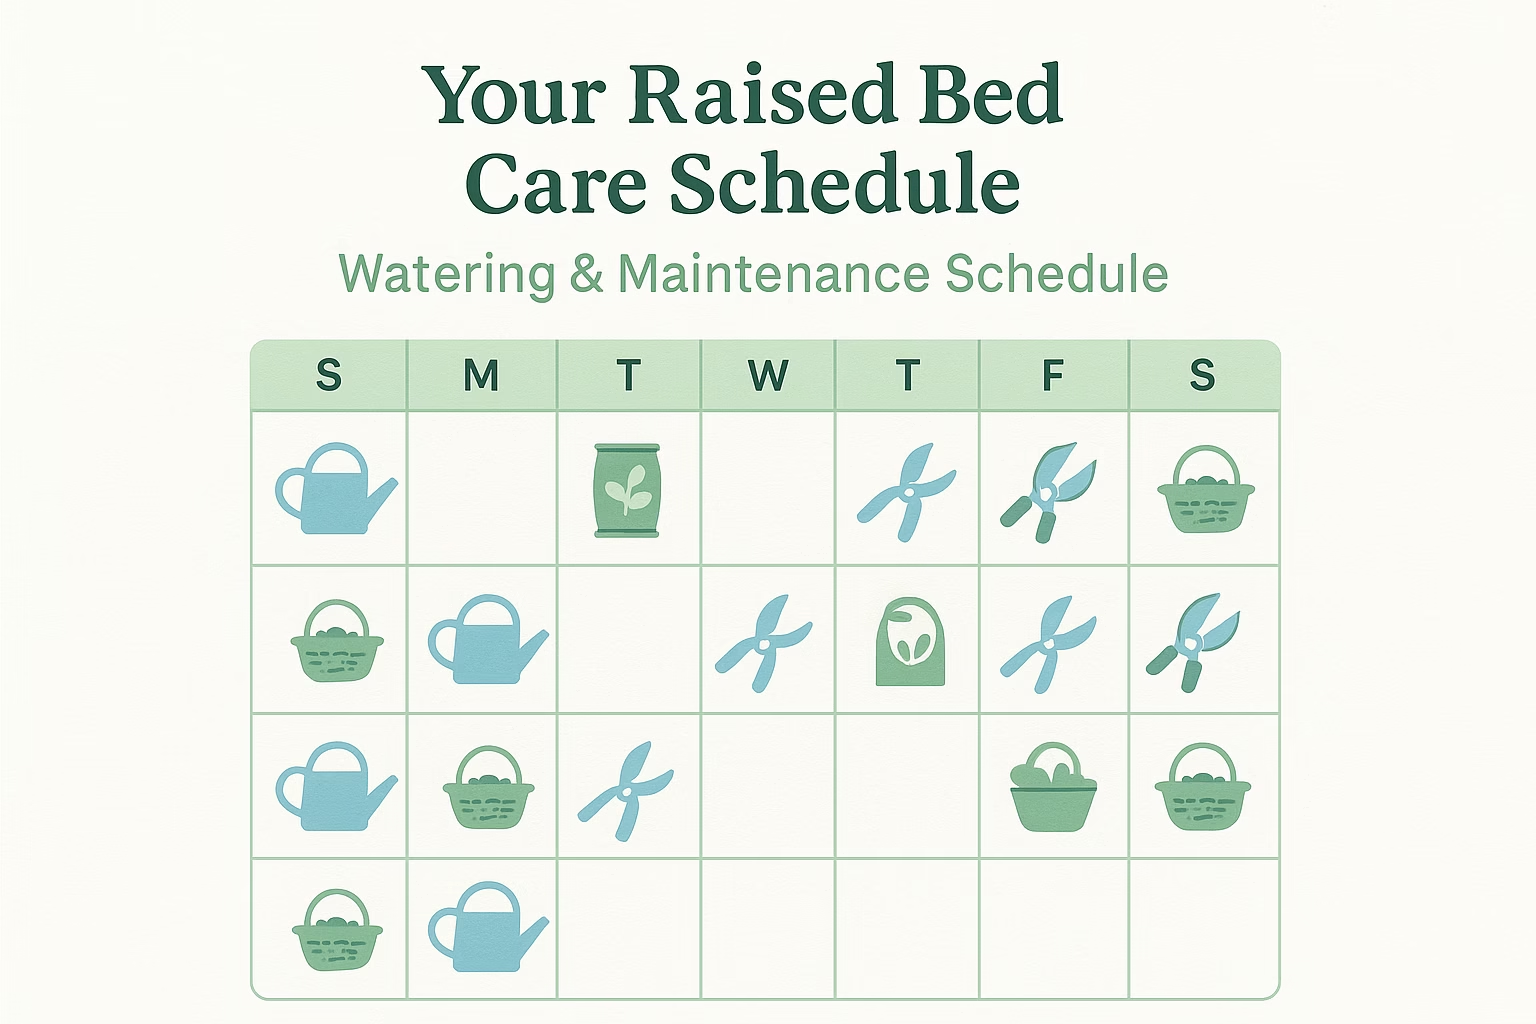
A garden is a living thing that needs consistent care. But don’t worry—raised beds are actually easier to maintain than traditional gardens.
Watering Wisdom
How Much: Aim for 1-2 inches of water per week, including rainfall.
How to Tell If You Need to Water:
Best Practices:
Mulching Magic
Add 2-3 inches of organic mulch around plants:
Good mulch options: straw, shredded leaves, grass clippings, wood chips
Feeding Your Plants
Raised bed soil needs replenishing. Here’s my schedule:
Just like our bodies need nourishing foods to thrive, your garden needs regular feeding to produce abundantly.
Pest and Disease Management
Prevention is key:
Common issues and solutions:
Step 9: Harvest and Enjoy the Fruits of Your Labor
This is what it’s all about—enjoying fresh, homegrown produce!
Harvesting Tips
General Rules:
Crop-Specific Timing:
Tomatoes: Pick when fully colored and slightly soft
Lettuce: Cut outer leaves, let the center keep growing
Beans: Harvest when pods are firm but before seeds bulge
Herbs: Cut stems regularly (promotes bushier growth)
Zucchini: Pick when 6-8 inches long (they grow FAST!)
Carrots: Pull when shoulders appear at soil line
The “Cut and Come Again” Method
Many crops will produce multiple harvests if you pick correctly:
Personal Reflection: There’s something almost meditative about harvesting your own food. It connects you to the seasons, to your food source, and to the simple pleasure of nurturing something from seed to table. It’s a form of mindful living that grounds you in the present moment.
Step 10: Prepare Your Raised Bed Garden for Next Season
As the growing season winds down, a little preparation now saves work later.
End-of-Season Tasks
Fall Cleanup:
❄️ Winter Protection:
🌱 Spring Preparation:
Crop Rotation Simplified
Don’t plant the same family of vegetables in the same spot year after year:
Year 1: Tomatoes and peppers (nightshades)
Year 2: Beans and peas (legumes)
Year 3: Lettuce and greens (leafy crops)
Year 4: Root vegetables (carrots, beets)
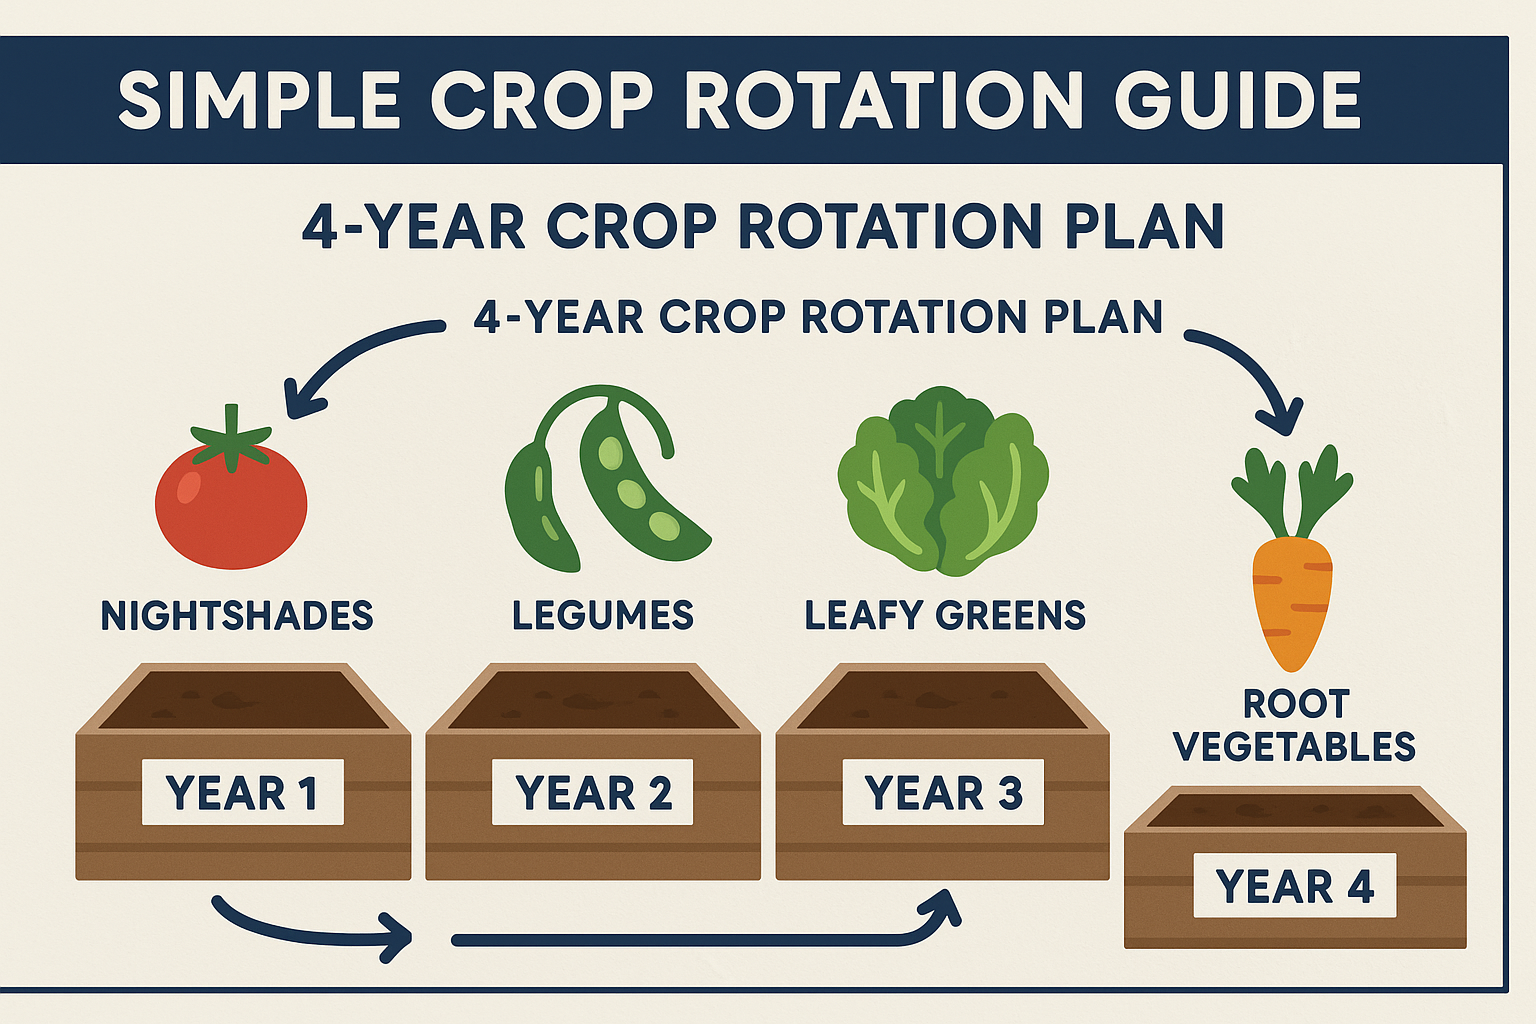
This prevents soil depletion and reduces pest and disease buildup.
Common Raised Bed Garden Mistakes to Avoid
Learn from my mistakes so you don’t have to make them yourself!
❌ Starting Too Big
I’ve seen too many enthusiastic beginners create massive gardens, only to feel overwhelmed by mid-summer. Start small, succeed, then expand.
❌ Skimping on Soil Quality
Cheap soil = disappointing results. This is the one place to invest properly.
❌ Ignoring Sunlight Requirements
That shady spot might be convenient, but most vegetables need sun. Don’t fight nature.
❌ Planting Too Early
Wait until after your last frost date for warm-season crops. Patience pays off.
❌ Overcrowding Plants
Give them space! Crowded plants compete for resources and are more prone to disease.
❌ Inconsistent Watering
Plants need regular moisture. Set a schedule or install drip irrigation.
❌ Forgetting to Harvest
Check your garden daily during peak season. Overripe vegetables signal the plant to stop producing.
Conclusion: Your Raised Bed Garden Journey Starts Now
Starting a raised bed garden is one of the most rewarding projects you can undertake. It doesn’t require a huge yard, extensive experience, or a massive budget. What it does require is a willingness to learn, a bit of patience, and the commitment to show up regularly for your plants.
Remember, every expert gardener was once a beginner who planted their first seed with uncertain hands. Your first season won’t be perfect—mine certainly wasn’t—but it will be a learning experience that sets you up for years of growing success.
The best time to start a raised bed garden was last year. The second-best time is right now. Your future self—the one harvesting sun-warmed tomatoes and crisp lettuce—will thank you for taking this first step.
Much like developing healthy habits or practicing better sleep hygiene, starting a garden is an investment in your wellbeing that compounds over time.
So grab your measuring tape, sketch out your garden plan, and get ready to grow something amazing. Your raised bed garden adventure


