Painting terracotta pots is one of the easiest and most rewarding DIY projects you can try. Whether you’re refreshing old clay pots, creating personalized gifts, or adding a splash of color to your garden, a little paint can completely transform a plain terracotta planter into something unique.
The first time I painted a terracotta pot, I was surprised by how much of a difference a little preparation made. I was tempted to skip straight to the fun part—painting—but I quickly learned that taking a little extra time to clean and dry the pot properly helps the paint last much longer. Since then, it’s become one of my favorite weekend craft projects because it’s simple, affordable, and always adds personality to my home and garden.
In this guide, I’ll show you exactly how to paint terracotta pots step by step, share a few mistakes to avoid, and offer plenty of creative ideas to help you design pots you’ll be proud to display.
Quick Answer
Painting terracotta pots is simple when you prepare the surface properly. Start by cleaning and completely drying the pot, then apply thin coats of acrylic or spray paint, allowing each coat to dry before adding the next. For outdoor pots, finish with a clear sealer to help protect the paint from moisture and weather.
Project at a Glance
| Skill Level | Beginner |
|---|---|
| Time Needed | About 1–2 hours (plus drying time) |
| Best Paint | Acrylic craft paint or spray paint |
| Best For | Indoor and outdoor plant pots |
| Optional Finish | Clear acrylic sealer for extra durability |
Prepare Your Terracotta Pot

Before you pick up a paintbrush, spend a little time preparing your pot. It isn’t the most exciting part of the project, but it’s the step that makes the biggest difference to how your finished pot looks and how long the paint lasts.
I’ve learned that rushing this stage almost always leads to chipped or peeling paint later. Now I treat preparation as part of the creative process rather than something to hurry through.
Clean the Surface
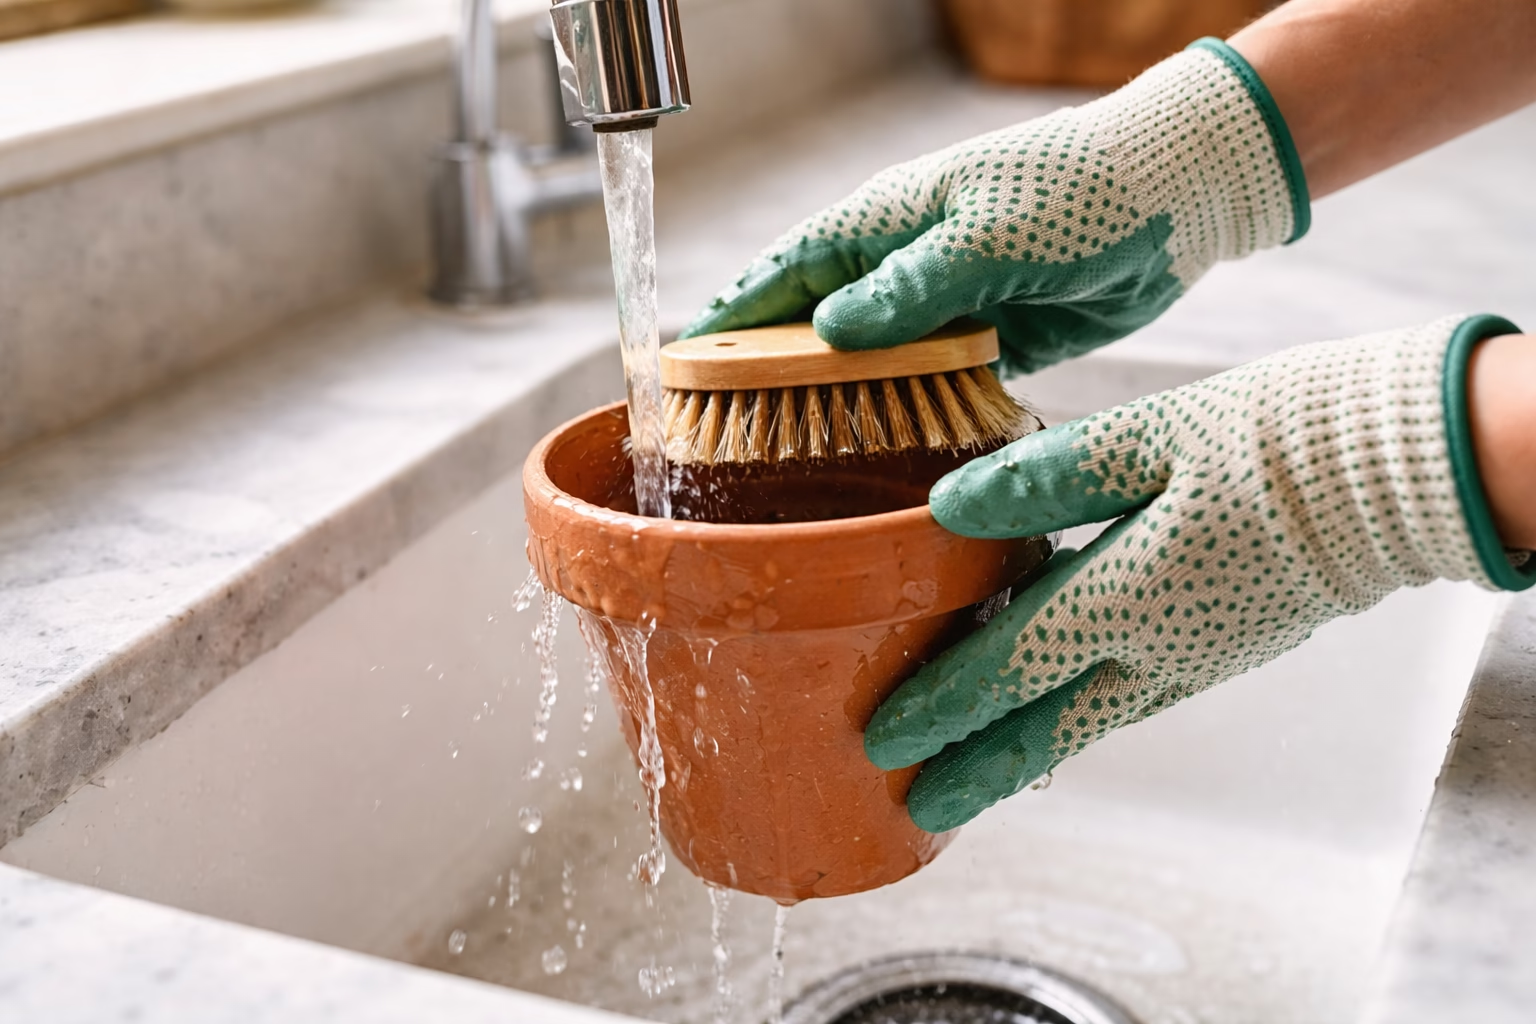
Start by brushing away any dust, dirt, or loose debris. If you’re repainting an older terracotta pot, scrub away any moss, algae, or old residue with warm soapy water and a stiff brush.
Once it’s clean, rinse the pot thoroughly and let it dry.
Make Sure the Pot Is Completely Dry
Terracotta is naturally porous, which means it absorbs and holds moisture much longer than many people expect.
The first time I painted a clay pot, I assumed it was dry because the outside felt fine. A few weeks later, the paint started peeling. Since then, I always give my pots extra drying time, especially if they’ve been washed.
If you’re unsure, waiting an extra day is much better than repainting the entire pot later.
Lightly Sand the Surface
If the pot feels rough, gently smooth it with fine-grit sandpaper or a sanding sponge.
This helps:
- Remove rough spots
- Create a smoother finish
- Improve paint adhesion
After sanding, wipe away the dust with a slightly damp cloth and allow the pot to dry again before painting.
Should You Seal Terracotta Pots Before Painting?
One of the questions I hear most often is whether terracotta pots need to be sealed before painting. The answer depends on how you plan to use them.
If the pot will stay indoors as a decorative planter, sealing isn’t always necessary. But if it’s going outside where it will be exposed to rain, watering, and changing temperatures, applying a clear sealer before painting can help the finish last much longer.
Think of the sealer as an extra layer of protection. Because terracotta naturally absorbs moisture, sealing the surface helps reduce the chance of paint bubbling, flaking, or peeling over time.
When I Recommend Sealing
✔ Outdoor planters
✔ Pots exposed to rain
✔ Large decorative planters
✔ Projects you want to last for years
When You Can Skip It
✔ Indoor decorative pots
✔ Temporary craft projects
✔ Pots where you like a naturally weathered look
My Tip
If I’ve spent time creating a detailed design, I almost always seal the pot. It only takes a few extra minutes and gives me peace of mind that my hard work will last much longer outdoors.
How to Paint Terracotta Pots: Step-by-Step

Paint Your Terracotta Pot
Now for the fun part! Once your terracotta pot is clean, dry, and ready to go, it’s time to bring your design to life. Whether you’re painting a simple solid color or creating detailed patterns, the secret to a beautiful finish is patience. Thin, even coats almost always look better than one thick layer.
I’ve found that taking my time with each coat gives me a much smoother finish and helps the paint last longer, especially on outdoor pots.
Choose the Right Paint
The good news is that you don’t need expensive supplies to get beautiful results.
For most projects, I recommend:
- Acrylic craft paint for hand-painted designs and patterns.
- Spray paint for smooth, even coverage on solid-color pots.
- Outdoor acrylic paint if your pot will stay outside year-round.
If your acrylic paint feels a little thick, add a small splash of water to help it glide across the surface more smoothly.
Apply the First Coat
Using a foam brush or soft paintbrush, apply a thin, even layer of paint over the outside of the pot.
Don’t worry if you can still see a little terracotta showing through. The first coat acts as a foundation, and full coverage will come with the next layers.
Allow the paint to dry according to the manufacturer’s instructions before adding another coat.
Build the Color Slowly
Rather than trying to cover everything at once, apply two or three thin coats until the color looks even.
I’ve learned that thin layers not only look smoother but are also much less likely to crack or peel over time.
If you’re creating patterns or adding multiple colors, let each section dry before moving on to the next to avoid smudging.
Add Your Design
Once the base color has dried, you can personalize your pot however you like.
Some easy ideas include:
- Polka dots
- Stripes
- Floral patterns
- Geometric shapes
- Color blocking
- Simple hand-lettering
This is my favorite part of the project because every pot turns out a little different. Even simple designs can completely change the look of a plain clay planter.
Seal Your Finished Pot
If your painted pot will live outdoors, finish it with a clear acrylic sealer once the paint has dried completely.
A thin protective coat helps shield the paint from moisture, sunlight, and everyday wear, keeping your design looking fresh for much longer.
Let It Cure Before Planting
One of the hardest parts of this project is waiting—but it’s worth it.
Even though the paint may feel dry to the touch, giving it extra time to fully cure helps prevent scratches, peeling, and moisture damage once you add soil and plants.
Whenever I finish painting a pot, I like to leave it in a dry, well-ventilated spot for a few days before planting anything inside. Waiting a little longer now usually means enjoying the finished pot for much longer later.
Creative Terracotta Pot Painting Ideas
Once you’ve painted your first terracotta pot, it’s hard to stop at just one. One of the things I love most about this project is that every pot can have its own personality. Whether you prefer a clean, modern look or something colorful and playful, there are endless ways to make your planters feel unique.
If you’re not sure where to start, here are a few beginner-friendly ideas that always look beautiful.
Minimalist Neutral Pots
A simple coat of white, beige, sage green, or soft gray paint creates a timeless look that works beautifully indoors or on a patio.
I love pairing neutral pots with leafy green plants because the colors complement each other without competing for attention.

Color-Blocked Designs
Choose two or three coordinating paint colors and divide the pot into simple sections.
This is one of the easiest ways to create a modern designer look, even if you’ve never painted a pot before.
Floral Patterns
Tiny flowers, leaves, or vines instantly give terracotta pots a cheerful handmade feel.
Don’t worry about making every flower perfect—small imperfections often make handmade projects feel even more charming.
Geometric Patterns
Use painter’s tape to create crisp lines, triangles, stripes, or checkerboard designs.
This technique is beginner-friendly and creates a surprisingly professional finish.
Whitewashed Farmhouse Style
If you love rustic or cottage-style décor, lightly brushing diluted white paint over the terracotta allows some of the natural clay to peek through.
It’s one of my favorite finishes because every pot turns out slightly different.
Metallic Details
A little gold, copper, or silver paint around the rim can completely transform a simple planter.
Sometimes just a small metallic accent makes the whole project feel more polished.
Personalized Pots
Adding names, favorite quotes, or simple hand-lettering is a fun way to personalize herb pots, gifts, or children’s planters.
These also make thoughtful handmade presents for birthdays, Mother’s Day, or housewarming gifts.

⭐ My Tip
If you’re trying a new design, practice on a small terracotta saucer first. It’s a great way to test colors, brush techniques, and patterns before painting your favorite pot.
Common Mistakes to Avoid
Painting terracotta pots is a beginner-friendly project, but there are a few mistakes that can affect the final result. The good news is that they’re all easy to avoid once you know what to look for.
❌ Painting a Damp Pot
Even if the surface feels dry, moisture trapped inside the clay can cause paint to peel later.
When in doubt, give your pot a little extra drying time.
❌ Applying Thick Coats of Paint
It’s tempting to cover everything in one coat, but thick paint is much more likely to crack.
Thin, even coats always create a smoother finish.
❌ Skipping the Sealer for Outdoor Pots
If your planter will live outside, sealing it helps protect your hard work from rain, sunlight, and changing weather.
It’s a small extra step that makes a big difference.
❌ Forgetting to Protect Your Work Surface
Lay down newspaper, a drop cloth, or craft paper before you begin.
Trust me—cleaning dried acrylic paint off the kitchen table isn’t nearly as fun as painting the pot.
❌ Rushing the Project
This is probably the mistake I’ve made most often over the years.
Every time I’ve tried to hurry between coats or plant something before the paint had fully cured, I’ve regretted it later.
Giving your project a little extra time almost always leads to a much better finish.
Frequently Asked Questions
Do I Need to Prime Terracotta Pots Before Painting?
Not always. For most DIY projects, you can paint directly onto a clean, dry terracotta pot. However, using a primer or a thin first coat of paint can help create a smoother finish, especially if you’re painting light colors.
What’s the Best Paint for Terracotta Pots?
Acrylic craft paint is my favorite because it’s easy to use, affordable, and comes in countless colors. Spray paint is another great option if you want smooth, even coverage on solid-colored pots.
How Many Coats of Paint Should I Apply?
Most terracotta pots look their best after two or three thin coats of paint. Building the color gradually creates a smoother finish than applying one thick coat.
Should I Seal Painted Terracotta Pots?
If your pots will stay outdoors, I highly recommend sealing them with a clear acrylic sealer. It helps protect the paint from moisture, sunlight, and everyday wear.
For indoor decorative pots, sealing is optional.
How Long Should I Wait Before Planting?
Even if the paint feels dry, it’s worth giving your pot extra time to cure before adding soil and plants.
I’ve learned that being patient at this stage helps the finish stay looking beautiful much longer.
Can I Paint Old Terracotta Pots?
Absolutely. In fact, repainting old pots is one of my favorite ways to give them a fresh new look. Just make

Conclusion
Painting terracotta pots is one of those simple DIY projects that delivers surprisingly beautiful results. With a little preparation, the right paint, and a bit of creativity, you can transform an ordinary clay pot into something that adds personality to your home, patio, or garden.
One thing I’ve learned is that you don’t need to be an artist to create something you’ll love. Some of my favorite painted pots have been the simplest ones—a single color, a few hand-painted details, or a fun pattern that made me smile every time I walked past it. The beauty of this project is that every pot reflects your own style, and no two creations ever have to be exactly alike.
Whether you’re refreshing old planters, making thoughtful handmade gifts, or starting a new weekend craft, I hope this guide gives you the confidence to pick up a paintbrush and get creative. Start with one pot, enjoy the process, and don’t worry about making it perfect. Sometimes the little imperfections are what make handmade projects feel the most special.
Happy painting, and have fun creating something uniquely yours!
References
[1] How To Paint Terracotta Pots – https://potswa.com.au/how-to-paint-terracotta-pots/